Quickstart
By the end of this page you will have the API, worker, MongoDB and Redis running, an app with its two API keys, and a notification queued and delivered.
You need: Docker (with Compose v2) and Bun ≥ 1.2 for the one-off setup commands.
1 Clone and configure
git clone https://github.com/Aproder/opennotification.git
cd opennotification
cp .env.example .env
2 Generate the secrets
bun run generate:keys >> .env
bun run generate:admin-password >> .env    # prompts for the dashboard password
This appends seven values to .env:
| Variable | What it is |
|---|---|
ENCRYPTION_KEY | 32-byte AES-256-GCM key. Every credential you upload (.p8, service account JSON, VAPID private key) is sealed with it before it touches the database. |
HMAC_SECRET | Signs the tracking id embedded in every push, which is what lets the tracking endpoint stay unauthenticated. |
VAPID_PUBLIC_KEY / VAPID_PRIVATE_KEY | A P-256 key pair for web push. Optional until you add a web app. |
ADMIN_API_TOKEN | Shared secret between the dashboard and the API's /v1/admin routes. |
SESSION_SECRET | Signs the dashboard's session cookie. |
ADMIN_PASSWORD_HASH | argon2id hash (base64) of the dashboard's bootstrap password. |
Open .env and delete the empty placeholders for these variables so only the generated lines remain. Compose refuses to start while any of them is empty.
ENCRYPTION_KEYIf you lose it, every stored credential becomes unreadable and you re-enter them all. Put it in a password manager now.
3 Start the stack
docker compose up -d
Six containers come up: api, worker, dashboard, docs, mongo, redis. Indexes and the time-series events collection are created on the first boot.
curl localhost:3000/health
# {"status":"ok","db":"ready","uptimeSeconds":3}
The interactive OpenAPI browser is at http://localhost:3000/docs.
Skip Compose entirely — see Running without Docker.
4 Create your first app
An app is a tenant: one set of push credentials, one audience, its own API keys. Create it from the command line:
docker compose exec api bun packages/api/scripts/create-app.ts \
  --name "My App" --slug my-app
It prints two keys, once:
  secret key (server, Authorization: Bearer)   sk_live_64b7…
  public key (SDKs, x-app-key)                 pk_live_64b7…
- The sk_live_… secret key belongs on your backend. It can send notifications, manage users and read reports.
- The pk_live_… public key ships inside your app binary or web page. It can only register a device and update that device's own user.
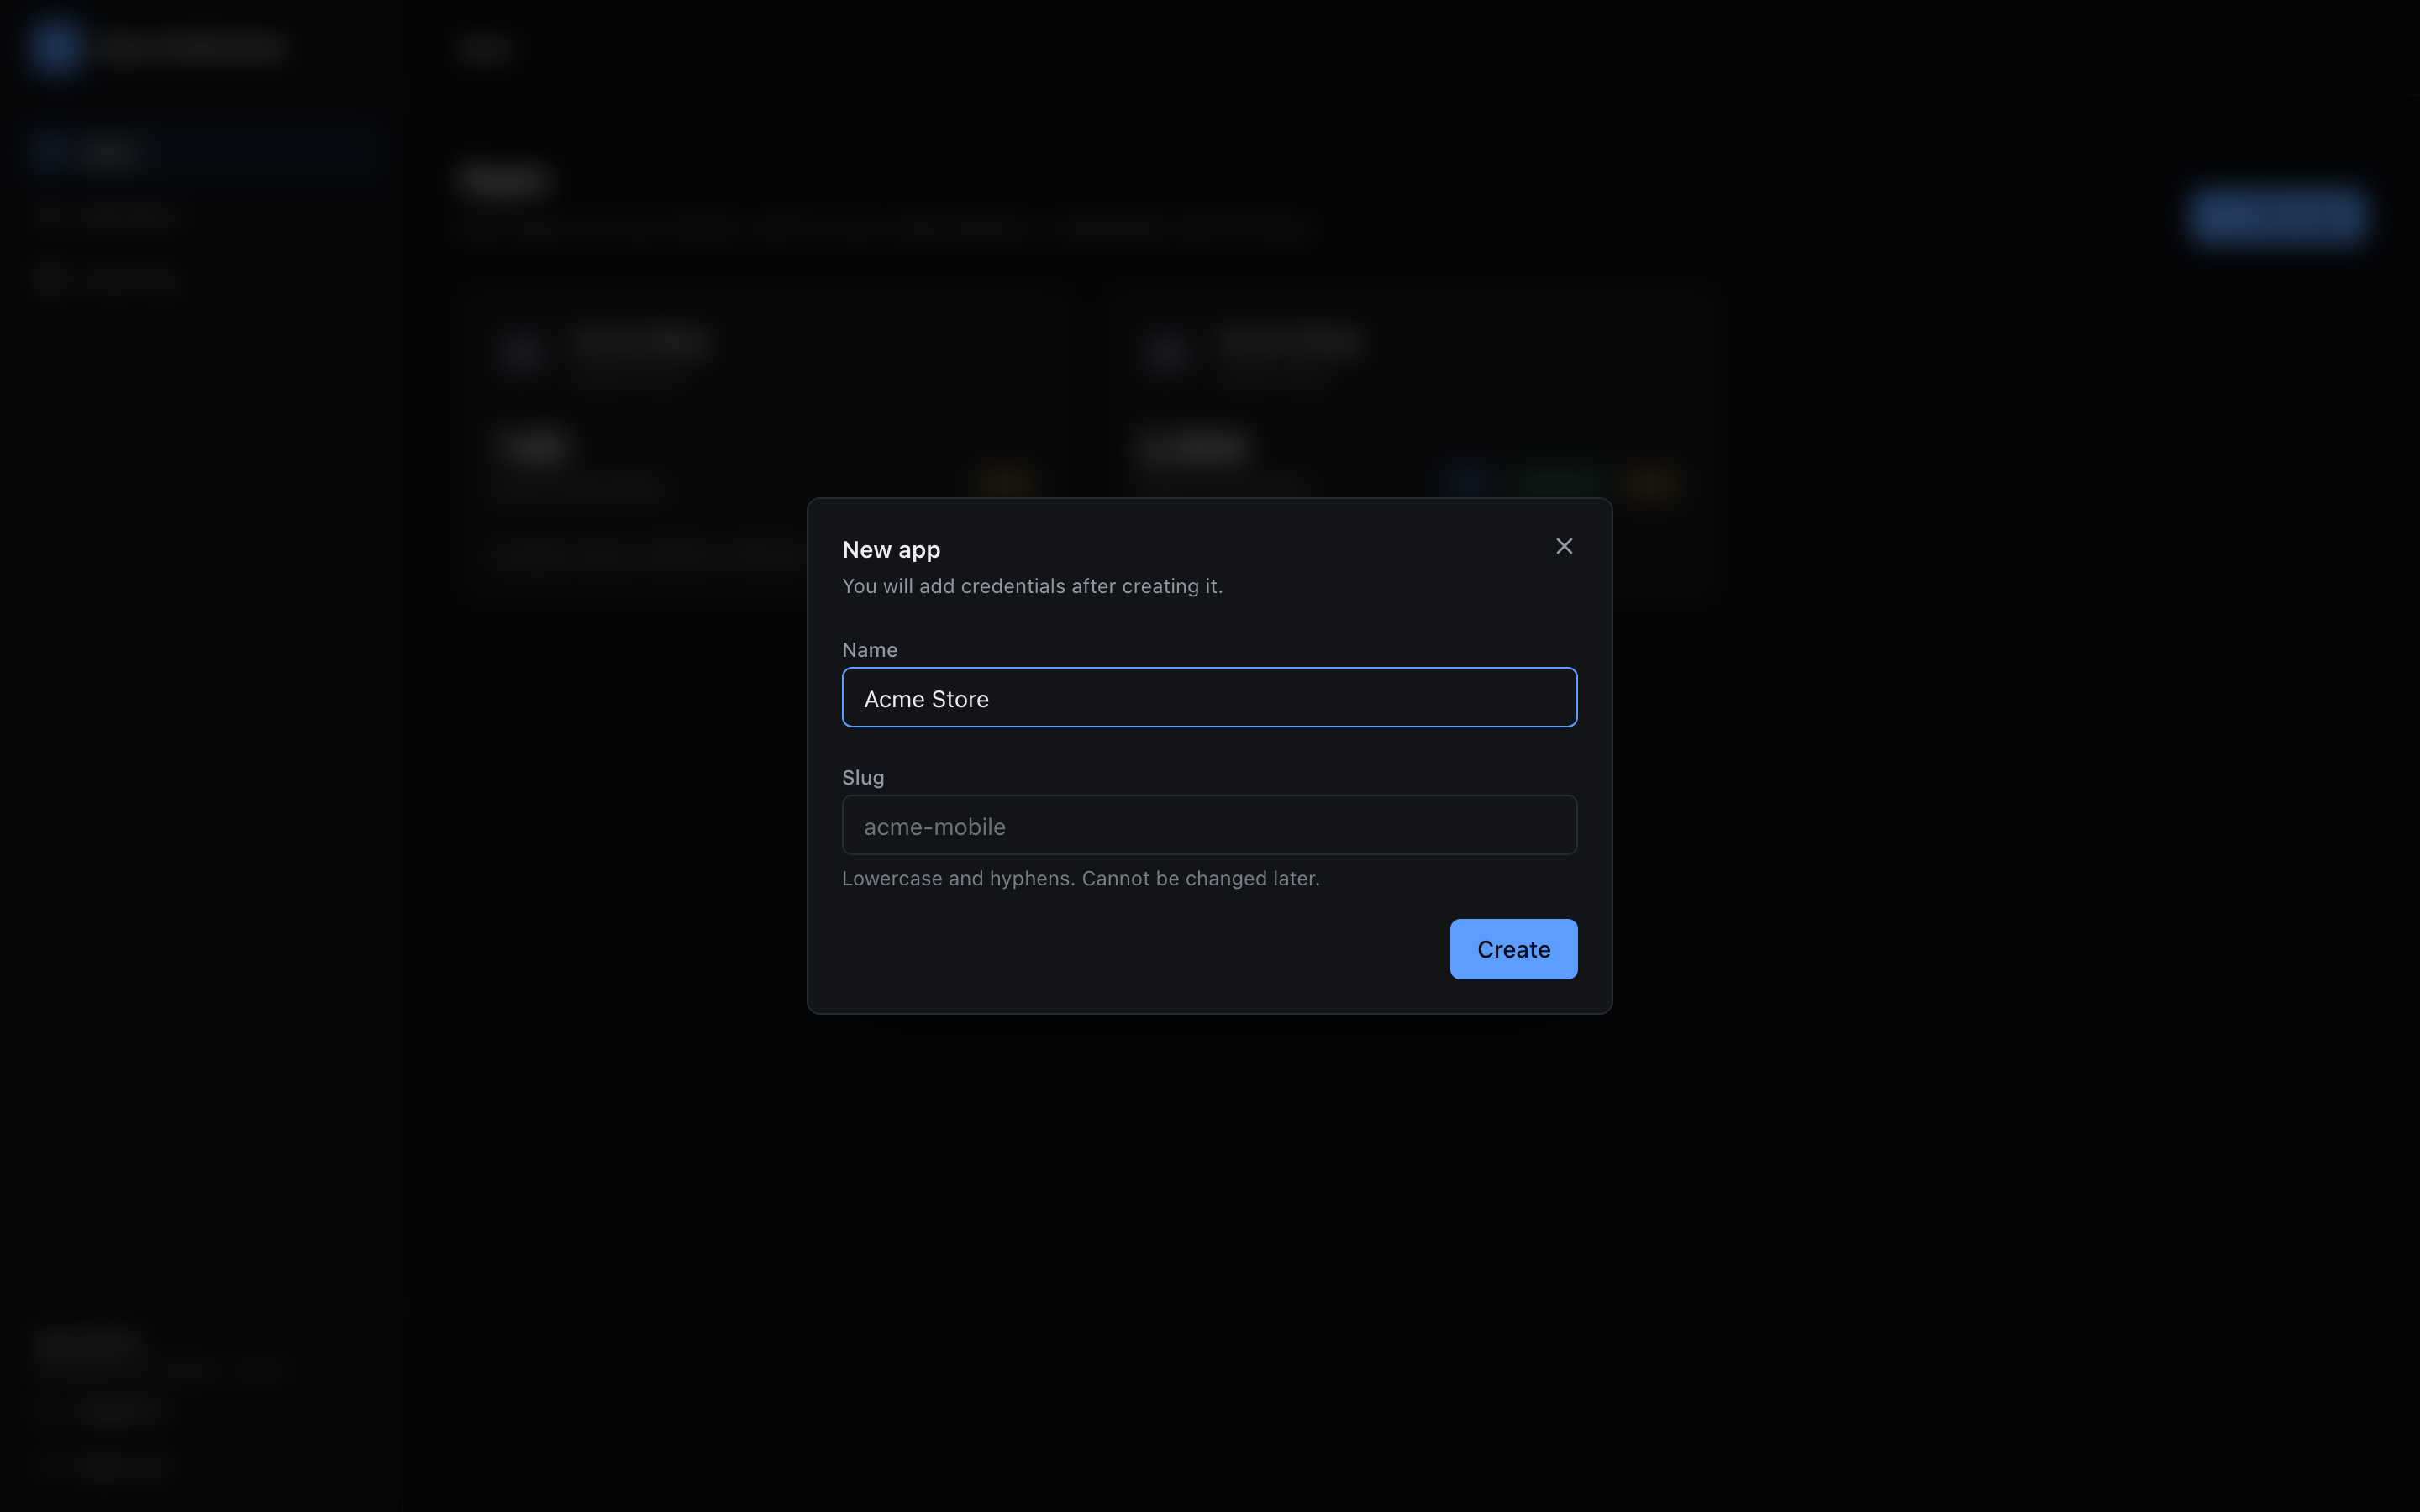
You can also create apps in the dashboard, which shows the same two keys in a one-time dialog.
5 Register a device and send
Without an SDK yet, pretend to be one:
curl -X POST localhost:3000/v1/subscriptions \
  -H "x-app-key: pk_live_…" \
  -H "content-type: application/json" \
  -d '{
    "platform": "ios",
    "token": "<64-hex APNs device token>",
    "externalId": "user_123",
    "tags": { "plan": "premium" },
    "language": "en",
    "timezone": "Europe/Istanbul"
  }'
# {"id":"66f1…","platform":"ios","userId":"66f1…"}
Now send to that user from your backend:
curl -X POST localhost:3000/v1/notifications \
  -H "Authorization: Bearer sk_live_…" \
  -H "content-type: application/json" \
  -d '{
    "target": { "externalIds": ["user_123"] },
    "content": {
      "en": { "title": "Welcome aboard", "body": "Your account is ready." },
      "tr": { "title": "Hoş geldin", "body": "Hesabın hazır." },
      "_default": "en"
    },
    "data": { "screen": "home" }
  }'
# HTTP 202 {"id":"66f1…","status":"sending"}
The API answers 202 with a campaign id and the worker does the delivery. Watch it:
docker compose logs -f worker
curl -H "Authorization: Bearer sk_live_…" localhost:3000/v1/campaigns/<id>/stats
Until you upload real credentials the send fails with a clear error in the worker log — that is expected. Add them next.
What next
| Goal | Page |
|---|---|
| Upload the APNs key, FCM service account, VAPID pair | Platform setup or the Credentials page |
| Open the admin panel | Dashboard setup |
| Put the SDK in your app | SDKs |
| Understand users vs. subscriptions vs. campaigns | Concepts |
| Deploy behind a domain with TLS | Dokploy / Traefik |